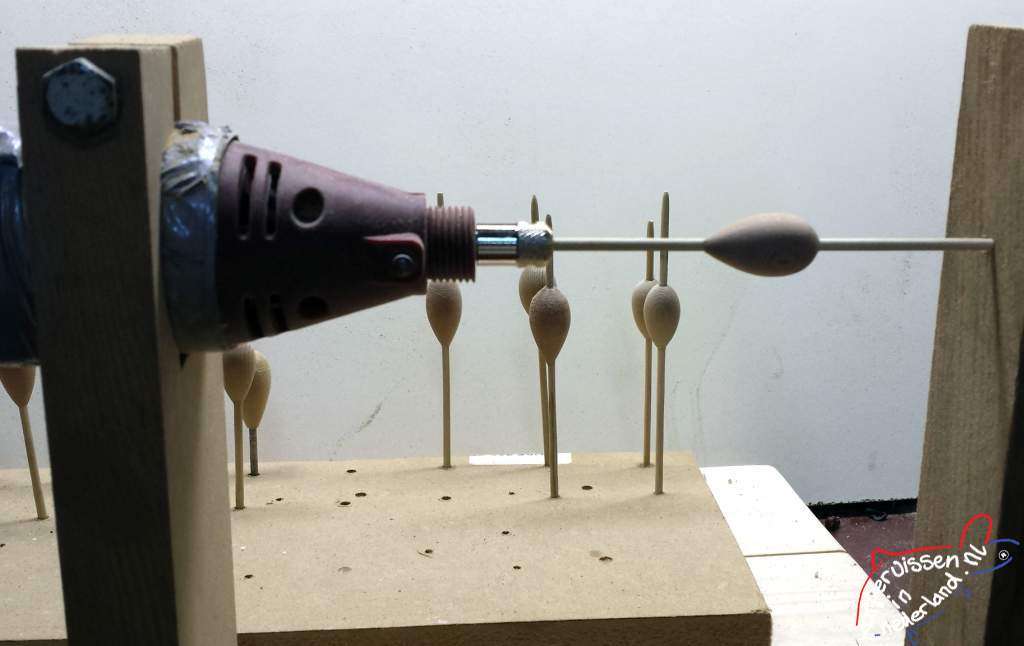
This article is a follow-up to the article “Making Your Own Float,” finishing your homemade float; painting.
What you need:
- Brushes
- Container of water or turpentine (depending on your choice. Synthetic or acrylic-based)
- Primer (White, or another color)
- Sandpaper P400/600
- Clear varnish (satin or high gloss)
- Your homemade float
Step 1:
We start by applying the white primer coat to the float.
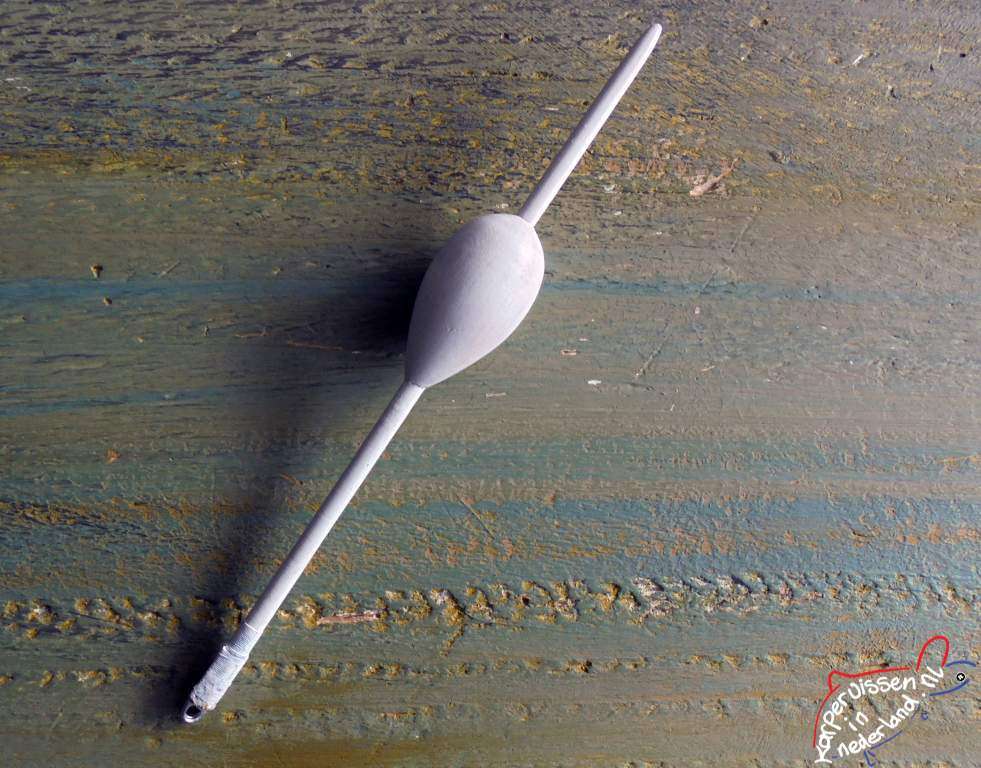
Step 2: Once the primer is dry, carefully sand the float with fine sandpaper (P400/600) to remove any raised fibers. Then, apply another coat of primer to the float.
Step 3: Once that’s done, we move on to the first color layer. If the first layer doesn’t cover well after drying, repeat it to ensure a nice, even coat.
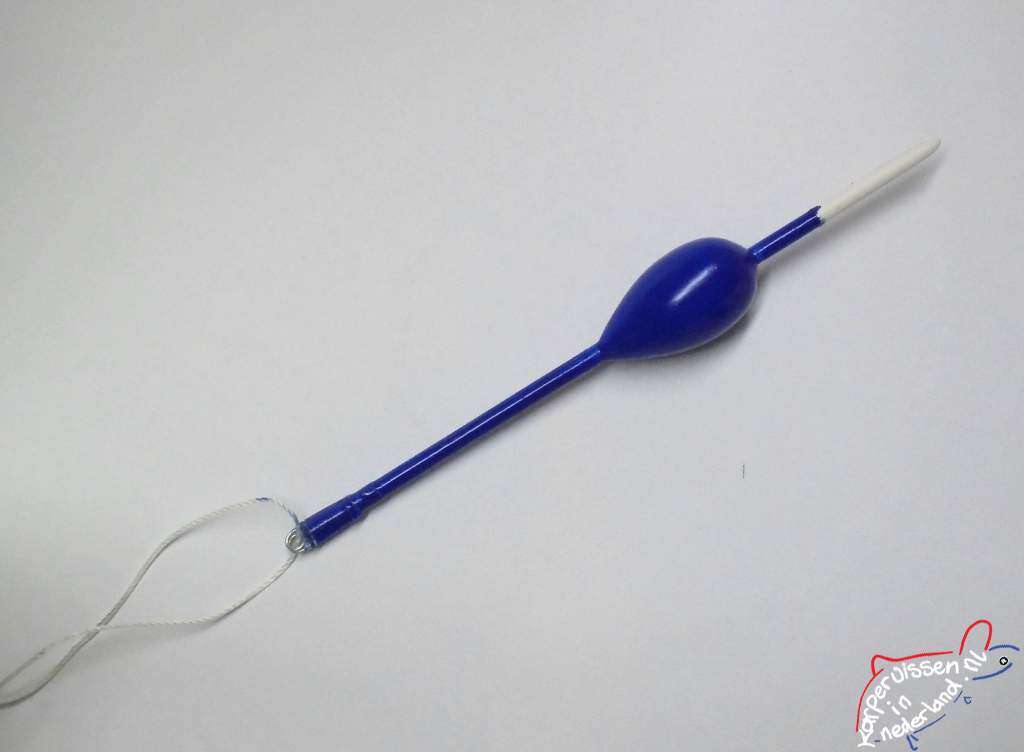
Step 4: Now, dip the tip of the float in fluorescent orange, yellow, or red paint, applying two coats.
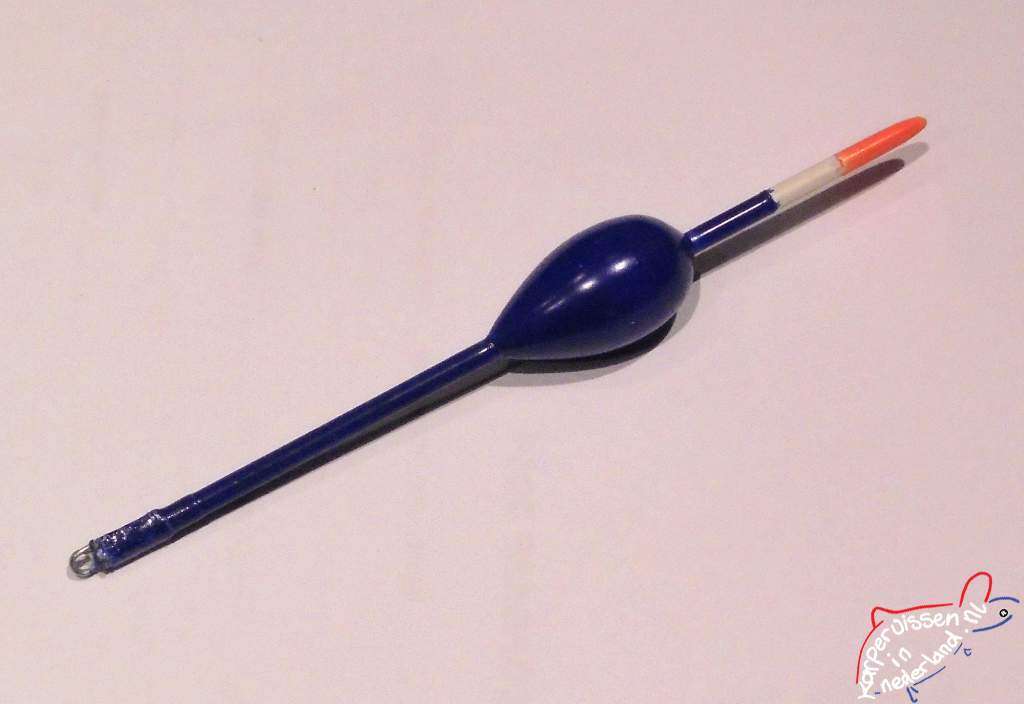
Step 5: Next, take the clear varnish (satin or high gloss, your choice) and apply two coats to the float.
Step 6: Once the varnish is dry, it’s time to use your float!!!

I wish you lots of fun with your new, homemade float!
Tjebbe Pieters

